Yes, you can train a bird to sit on your hand, and it doesn't require any special talent. What it requires is patience, consistency, and a willingness to go at the bird's pace rather than yours. The whole process comes down to one thing: convincing the bird that your hand is a safe, neutral, and eventually rewarding place to be. Once that click happens, stepping onto your hand becomes the bird's idea, not something you're forcing. This guide walks you through every stage of that process, from first trust-building to a confident, reliable hand-sit, with specific advice for the most common pet species and for wild birds you might encounter in your yard.
How to Train a Bird to Sit on Your Hand Safely
Clara Hayes
21 Apr 2026
Start here: choosing the right bird, setting realistic goals
Not every bird is an equally easy candidate for hand training, and being honest about that upfront saves a lot of frustration. A young, hand-fed parrot that was raised with human contact will typically step up within days. An older, cage-kept budgie that's never been handled may take weeks or even a couple of months of daily sessions before it's comfortable with your presence, let alone your hand. A wild bird is in a completely different category, and I'll cover that separately below.
Before you start, think about what you're actually hoping to achieve. 'Sitting on my hand' can mean a quick voluntary perch for a treat, calm extended handling, or anything in between. Your goal shapes how much time you'll invest and how you'll measure progress. Set small, concrete milestones: first, the bird doesn't retreat when you approach. Then, it takes food from near your hand. Then from your hand itself. Then it steps onto your hand. Each of those is a real win worth recognizing.
Also check the bird's health before starting. A bird that's sitting fluffed up, hunched, or barely responsive isn't a candidate for training sessions; it may be stressed or unwell. Signs to watch for include prolonged open-mouth breathing with visible tail-flicks, shivering, soiled feathers around the vent, or a dull and withdrawn demeanor. If you see any of these, contact an avian vet before proceeding. Training a sick or highly stressed bird is counterproductive and unkind.
Set up the environment before you start training
The space you train in matters more than most people think. A calm, distraction-free room gives you and the bird the best chance of making real progress. Loud TVs, other pets in the room, children running in and out, or open windows can all sabotage a session before it starts. Pick a consistent location, ideally a small room like a bathroom or quiet bedroom, where you can sit at the bird's level without looming over it.
Safety-check the room first. Close windows and doors, cover mirrors, and remove ceiling fans from the equation. If you're working with a bird outside the cage, make sure there's nothing it can get trapped behind, and keep other pets out. You want to be able to focus entirely on reading the bird's body language without worrying about hazards.
- Use a room with no ceiling fans running and no open windows
- Remove or secure other pets before starting any session
- Sit at the bird's eye level rather than standing above it
- Keep sessions short: 5 to 10 minutes maximum, especially early on
- Train at the same time each day if possible so the bird begins to anticipate it
- Have treats portioned out and ready before you approach the bird
One more thing on environment: don't train a bird that's just eaten a large meal. A slightly hungry bird is far more food-motivated, which makes reward-based training much more effective. Training right before the bird's regular feeding time works well for most species.
The step-by-step process: trust, approach, touch, perch
This four-stage progression is the backbone of all hand-training work. Don't rush through it. Each stage has to be genuinely solid before you move on, or you'll hit a wall later and have to come back anyway.
Stage 1: building trust

At this stage, you're not asking the bird to do anything. You're just being present in a non-threatening way. Sit near the cage and talk softly, read out loud, or go about quiet activities nearby. Do this daily for several days until the bird stops retreating to the far side of the cage when you walk in. You want it to associate your presence with calm, not danger. This can take anywhere from two days to two weeks depending on the bird's history and temperament.
Stage 2: introducing your hand
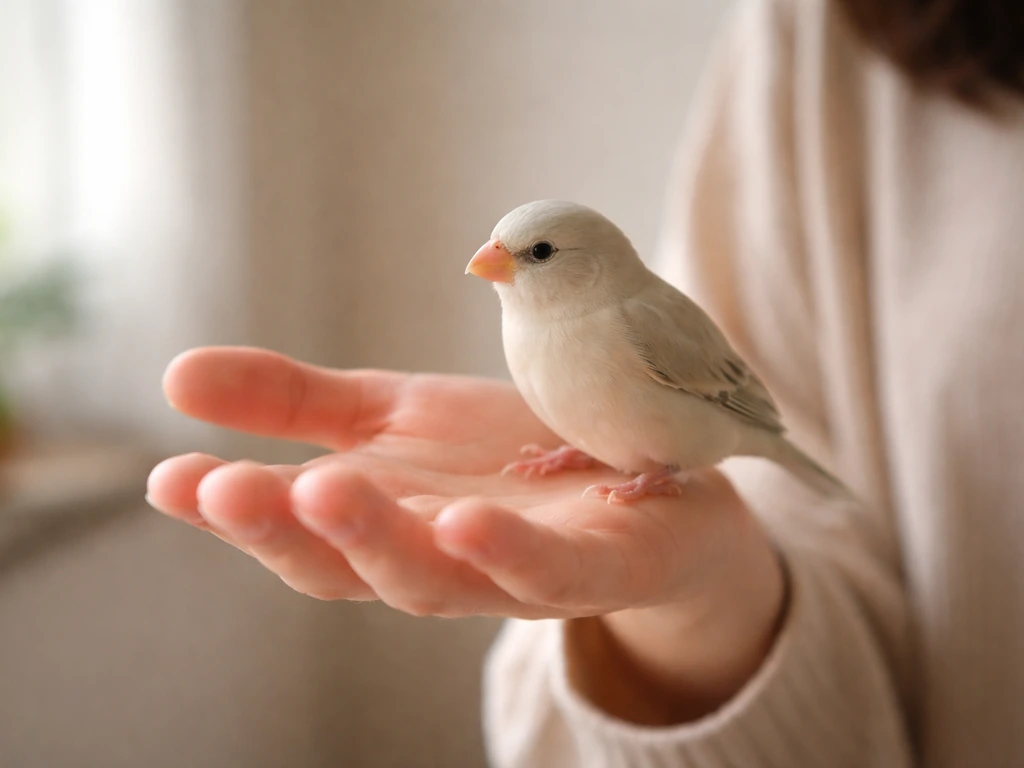
Once the bird is consistently relaxed in your presence, start placing your hand near the cage or just inside the door without reaching toward the bird. Hold it still. Let the bird observe it and approach in its own time. Hold a treat pinched between your fingers if the bird is food-motivated; otherwise just keep your hand open and flat, moving slowly and predictably. The goal here is getting the bird to choose to come closer, not to chase or corner it.
Stage 3: touch and target
When the bird is comfortable being near your hand, you can start gentle touch. Offer a finger slowly from below, which is far less threatening than coming from above. Let the bird peck at it, sniff it, or even step onto it briefly, rewarding any contact immediately with a treat and calm verbal praise. Some trainers use a target stick at this stage: a short stick or chopstick the bird learns to touch with its beak in exchange for a reward, which you can then use to guide the bird toward your hand without any physical pressure.
Stage 4: the step-up
The 'step up' is the formal cue for the bird to place its feet on your offered hand or finger. Position your finger or the flat of your hand just at or slightly above the bird's chest, gently pressing into the lower chest area. This very slight pressure creates a natural reflex in most birds to step forward and up onto the perch you're offering.
The moment the bird steps on, mark it (with a click or a verbal 'yes'), reward immediately, and let the bird step off whenever it wants. If you want the bird to perch on your finger specifically, focus on the same step-up cue and treat timing, but offer your finger at chest height instead of an open hand off whenever it wants.
Next, use the same step-up cue and reward timing to train your bird to step on your finger specifically offer your finger at chest height instead of an open hand. Keep the first perches extremely brief: 5 seconds is a huge win. Gradually extend duration over multiple sessions.
How to adjust your approach by species
The four-stage framework applies broadly, but the pace, treats, and handling style need to match the bird in front of you. Here's what to keep in mind for each common group.
| Species | Typical timeline to first hand-sit | Best treats | Key considerations |
|---|---|---|---|
| Large parrots (Amazon, African Grey, Macaw, Eclectus) | Days to a few weeks (hand-fed); weeks to months (older/rescue) | Nuts, pieces of fruit, pellets | Highly intelligent, bond strongly; watch for hormonal biting; respect personal space signals |
| Cockatiels | 1 to 3 weeks | Millet spray, small seeds, soft fruit bits | Generally social and eager to interact; whistle-based reinforcement works well alongside treats |
| Budgies (Parakeets) | 2 to 6 weeks | Millet, small seed pieces | Can be flighty; go slower, keep hands low and still; daily short sessions matter more than long ones |
| Finches (Zebra, Society, Gouldian) | Months, if achievable | Small seeds, egg food | Not naturally handleable; don't push hand-sitting as a goal; focus on approachability and trust at the cage |
| Common wild yard birds (Chickadees, Nuthatches, House Sparrows) | Weeks to months of consistent feeding | Sunflower seeds, mealworms | Only appropriate where birds approach voluntarily; never force or confine; full legal and ethical considerations apply |
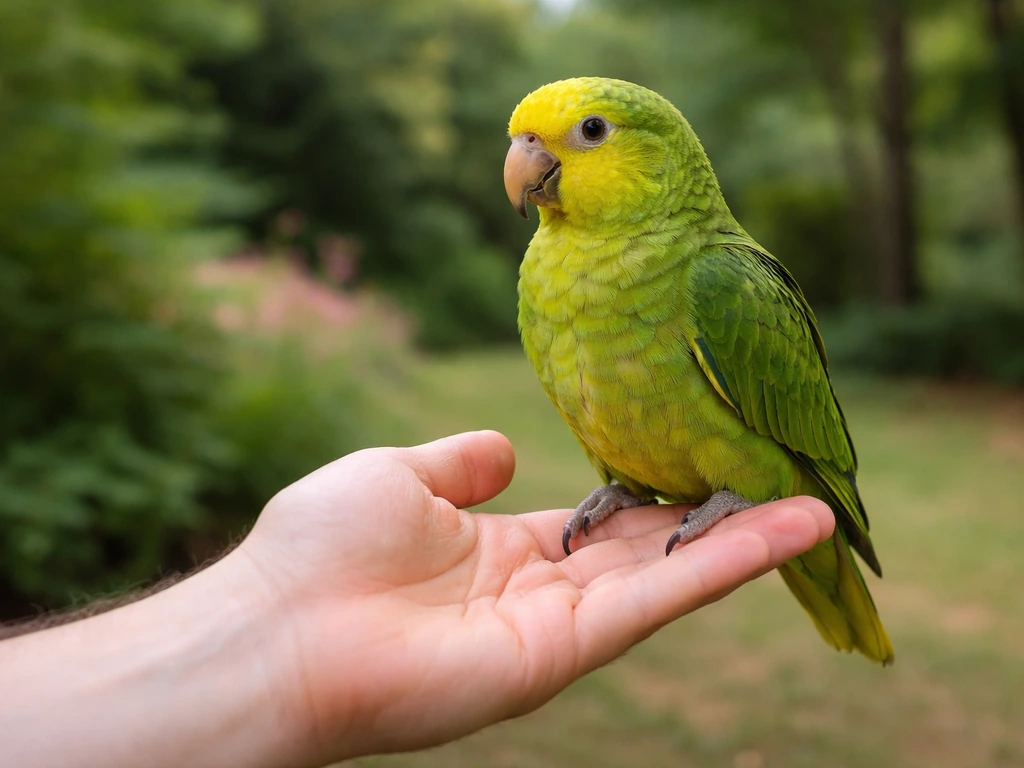
Parrots
Larger parrots are smart enough to test you and to learn exactly what works in their favor. A hand-fed bird that's been well socialized may step up confidently from day one. An older bird from a rescue or one that's been cage-bound for years needs the full trust-building process honored, no shortcuts. With parrots, reading subtle body language is crucial: pinning pupils, raised hackle feathers, a fanned tail, or a slightly open beak are all 'back off' signals. Respect them every time, and the bird learns that you're trustworthy. Push through them and you'll damage the relationship fast.
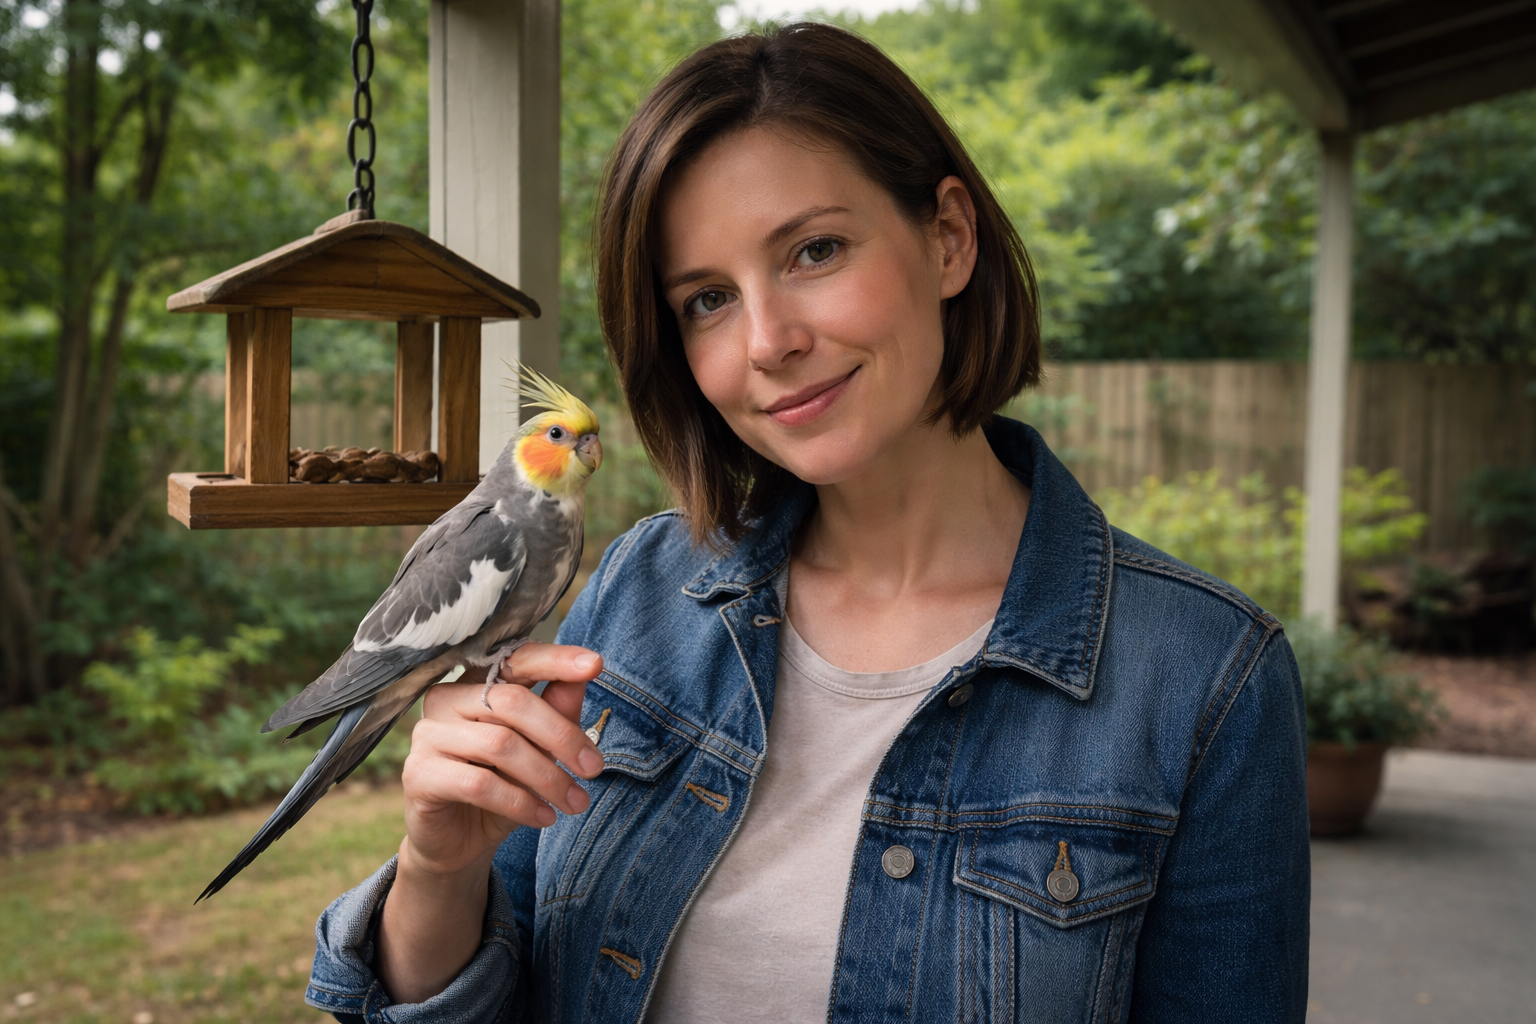
Cockatiels
Cockatiels are one of the most forgiving birds to train because most of them genuinely enjoy interaction. Millet spray is almost universally effective as a treat reward. Hold a sprig and let the bird reach for it, slowly bringing it closer to your hand over sessions until the bird is eating from your fingers and then stepping onto your hand to reach the millet. Their crest feathers are a great emotional indicator: flat and slicked back usually means scared or defensive, while relaxed and slightly raised means curious and comfortable.
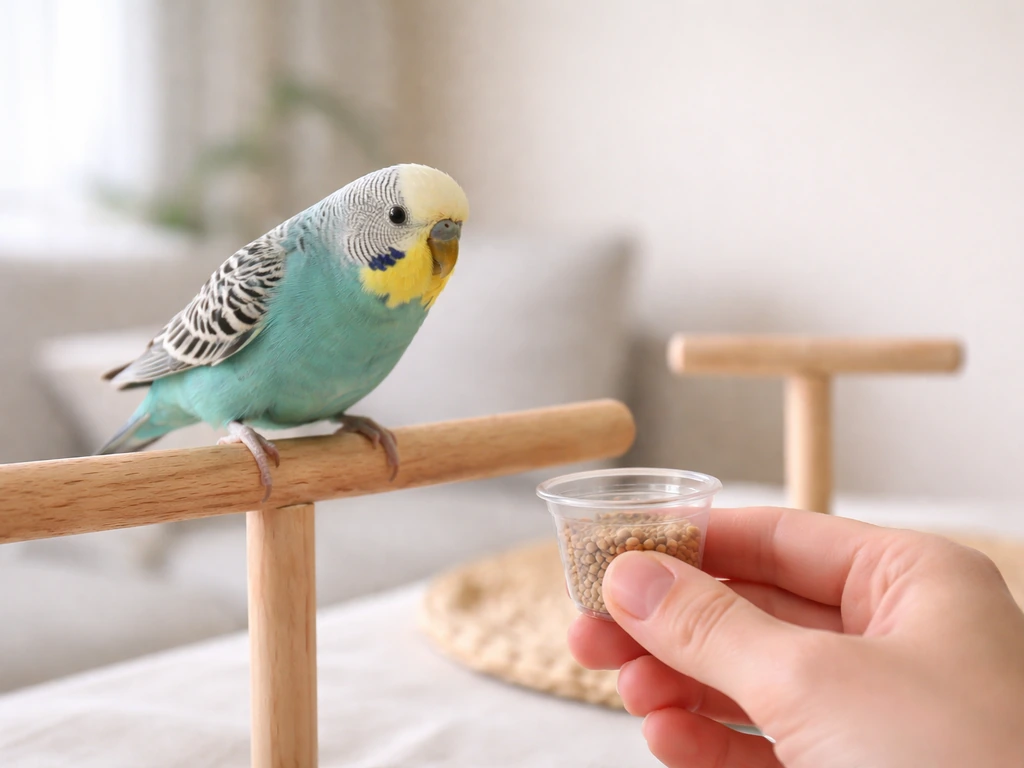
Budgies
Budgies (parakeets) can be wonderfully hand-tame, but they're prey animals with fast startle responses, and they need you to move slowly and predictably every single session. If you have multiple budgies, train them individually first. A companion bird can make one budgie brave and another more nervous depending on social dynamics. Keep your hand low, palm up or finger extended horizontally, never approaching from above. Budgies that have been in an aviary or mixed flock setting without handling will take longer than single, cage-kept birds.
Finches
Finches like zebra finches, society finches, and Gouldians are kept primarily as aviary birds and are not naturally inclined toward handling. Attempting to force hand-taming on a finch causes significant stress and can compromise its health. That said, you can absolutely build trust so that finches are comfortable feeding near your hand or even briefly perching on a finger if a very patient, food-reward-based approach is used over many months. Manage your expectations: for most finches, 'tolerates my presence without panic' is the realistic and appropriate goal, not prolonged sitting on hand.
Wild yard birds
Some wild birds, particularly Black-capped Chickadees, Tufted Titmice, and Red-breasted Nuthatches, can be conditioned to take seeds directly from a human hand in a backyard setting. This is a long, voluntary process: you gradually reduce the distance between your hand and the feeder over days and weeks, holding still with seed in your palm, until the birds become comfortable flying to you.
If your real goal is learning how to get a bird to come to you, focus first on trust and safe approach before you ask for any touching or step-ups. This works because these species are bold and food-motivated. It does not work through capture, restraint, or any forced contact, and any attempt to do so is both stressful for the bird and potentially illegal.
In the US, most wild songbirds are protected under the Migratory Bird Treaty Act, which means handling them without a permit is a federal offense. In the US, the Migratory Bird Treaty Act makes it illegal to take protected migratory birds, including killing, capturing, selling, trading, or transporting them, without a permit.
The only appropriate wild bird hand experience is one the bird initiates entirely on its own terms. If you're wondering how to get a wild bird to land on you, focus on rewarding the bird for initiating contact rather than trying to force it.
Using food rewards, markers, and timing to speed up progress
Positive reinforcement is the single most effective tool in bird training. The mechanics are simple: the bird does the thing you want, you mark the exact moment it happens, and you deliver a reward within about two seconds. That tight timing is what lets the bird connect its action with the reward. If you reward three seconds late, you might accidentally be rewarding the bird for something it did after the step-up, like ruffling its feathers or stepping back off.
A clicker is the most precise marker tool available because it makes a consistent, distinct sound that's different from your voice. But a sharp verbal marker like 'yes' works just as well once the bird learns it predicts a reward. To condition either marker, simply click (or say 'yes') and immediately give a treat 10 to 15 times in a row, without asking the bird to do anything. Once the bird visibly perks up or orients toward you when it hears the marker, it's ready to use in training.
Treat selection matters. The best training treat is something the bird finds highly valuable but doesn't get in its regular diet. For most parrots, a small piece of almond or walnut works well. For cockatiels and budgies, millet is almost universally motivating. Keep individual treat pieces tiny: a sunflower seed, a single millet grain, a pea-sized piece of fruit. You want the bird to eat it quickly and be ready for the next repetition, not spend 30 seconds working through a large piece of food.
Session length is one of the most important and most overlooked variables. Five to ten minutes per session, once or twice a day, outperforms a single exhausting 45-minute session every time. Birds have short attention spans for formal training, and ending while the bird is still engaged and willing keeps the next session starting from a positive place. Always end on a success, even if you have to make the last ask easier just to get that win.
When things go wrong: troubleshooting fear, biting, and stalled progress
Every bird hits a rough patch. Here's how to diagnose what's happening and what to actually do about it.
The bird is frightened and retreating
If the bird is consistently flying away, pressing into the corner of the cage, or showing fear body language (crouched, feathers slicked down, wide eyes), you've moved too fast. Go back one full stage. If the bird refuses, go back to the previous step and start again using positive reinforcement for the best results go back one full stage. Spend more time just being present without asking for anything. Fear doesn't disappear by pushing through it; it compounds. Give the bird more time at whatever stage feels safe to it. Some birds need a full week at a stage before they're genuinely ready to advance.
- Stop advancing and return to the previous stage immediately
- Check whether anything in the environment changed (new person, moved cage, different routine)
- Ensure sessions are happening when the bird is alert and not hungry to the point of stress
- Try sitting on the floor or lower down so you're less imposing
- Let the bird see you eating or handling food near the cage to desensitize
The bird is biting or nipping
Biting almost always means the bird gave warning signals you missed or didn't respond to. Before dismissing a bite as 'bad behavior', think back: was the bird showing any of those pre-bite signals (pinning eyes, fanned tail, leaning away, open beak)? If yes, the bite was communication that worked, from the bird's point of view. For parrots especially, a gentle, deliberate bite is a clear 'I'm not comfortable.' Don't jerk your hand back dramatically or yell, as that can inadvertently reward the biting by making it exciting, and can also startle the bird into a harder bite. Stay calm, say 'no' neutrally, and give the bird space.
- Identify and respect the pre-bite warning signals every single time
- Never force an interaction when the bird is clearly saying no
- Avoid pulling your hand back fast or yelping, which can escalate the response
- Return to treat-offering without asking for physical contact until trust rebuilds
- Consider whether the biting is tied to a particular time of day (hormonal birds are often more reactive in spring)
The bird approaches but won't step up
This is extremely common and usually means the bird isn't yet confident that stepping onto your hand is safe. It's curious and food-motivated enough to come close, but crossing that final threshold feels risky. A few things help here: make your hand the location of the food rather than something you reach toward the bird with.
Hold the treat on the back of your hand or just past your knuckles so the bird has to briefly step onto your fingers to reach it. Don't ask for the full step-up; just reward any weight on your hand, even one foot for one second. Getting a bird to come to your hand voluntarily is essentially the next extension of the same “step-up from your offered hand” relationship described above.
Progress has completely stalled
If you've been working consistently for two to three weeks and the bird seems stuck at the same stage, take a two or three day break. This sounds counterintuitive, but it often resets the bird's interest and engagement. Also evaluate your treat value: is the food you're using actually motivating enough? Try something higher value and see if responsiveness increases. Sometimes changing the training location by a few feet or adjusting the time of day can also break a plateau. And always rule out health issues: a bird that suddenly loses interest in treats or interaction may be dealing with an underlying illness that needs a vet visit.
When to stop a session immediately
- The bird shows sustained fluffed-up feathers or hunched posture during the session
- Open-mouth breathing continues for more than a few seconds
- The bird has been retreating or trying to escape for the majority of the session
- You notice soiled feathers, unusual droppings, or any sign of physical illness
- You're feeling frustrated and your patience is genuinely running out
That last point is worth taking seriously. Birds read body language and emotional state very well. A tense, impatient trainer communicates that information to the bird through posture, movement speed, and energy. If you've hit your limit for the day, close the session, give the bird a treat for nothing just to end on a neutral note, and come back tomorrow. Consistency over time matters far more than any single session.
What comes after the first hand-sit
Once the bird is reliably stepping onto your hand, you can start building duration, moving while the bird is perched, introducing the step-up from different surfaces and locations, and eventually working toward more complex handling. If staying on a shoulder is a goal, that's a natural next step after the hand-sit is solid. The same trust-based, reward-driven approach that got you here applies to every new skill you add.
Getting a bird to come to you from across the room, to fly to your hand voluntarily, or to step up from a perch rather than from inside the cage are all extensions of the same relationship you've been building. The hand-sit is the foundation, and once it's there, most birds are far more willing learners than people expect. Keep sessions short, keep rewards consistent, and keep respecting what the bird is telling you with its body. That combination works every time, it just works on the bird's timeline, not yours.
FAQ
Can I train a bird to sit on my hand even if it is nervous around being held?
Yes, but only if the bird can safely maintain balance and you can control the environment (quiet room, no sudden movements). Before relying on the “hand sit,” practice holding your hand lower than the bird expects to step onto, and keep the first sessions extremely brief. If the bird shows freezing, tail tension, or frequent flapping while perched, extend trust-building stage time instead of pushing duration.
What should I do if my bird will step up, but won’t stay on my hand?
Change one variable at a time. If the bird is taking treats near your hand but not stepping on it, use a “weight-on-hand” goal (reward any contact with one foot or partial weight) rather than the full step-up. If it is stepping up but not staying, shorten the session (end at 3 to 5 seconds) and gradually increase time only after the bird remains calm.
How can I fix it if my bird seems confused about when it earns the treat?
Offer rewards on or near your training target, not from a different location. A common mistake is clicking or praising, then reaching away to give the treat, which teaches the bird that the “real” reward is elsewhere. Deliver the treat immediately near your hand, with minimal hand movement during the step-up.
Does hand position matter, and what’s the safest way to offer my hand?
Start with a height that avoids looming. If you’re working with a caged bird, keep your hand level with the bird’s chest or slightly below, and place it slowly into the bird’s space without reaching over its head. For many birds, approach-from-above triggers avoidance even when the rest of the training is correct.
What if my bird eats the treat slowly and stops the training?
Use the smallest, fastest-to-consume items you have. For many parrots and similar species, tiny nut bits can still be too slow, so consider breaking them into smaller pieces or using higher-value treats that the bird finishes within a few seconds. If you notice the bird pausing to chew before stepping up, shorten the treat time by swapping to bite-size rewards.
How often should I practice, and can I train less than once a day?
It depends on the goal. Training sessions should be short and predictable (about 5 to 10 minutes), but daily consistency matters more than session length. If you must reduce frequency, keep the cues and reward timing identical and still end on a success, because abrupt changes can undo trust.
Can I use a target stick, and will it make the bird more comfortable with stepping up?
Targeting and step-up can be blended, but don’t skip the safety prerequisite. If you use a target stick, make it clear that the target is the invitation, not a chase device. Only use physical guidance if the bird is already comfortable with your hand and the bird is initiating the movement toward the target.
How do I choose the best time of day and meal timing for training?
Avoid training right after any stressful event (loud activity, other pets, vet handling, relocation) and avoid training when the bird is overheated or chilled. Also be careful with “hungry” timing, since underfeeding can backfire. Aim for a slightly motivated state around normal feeding times, but stop if the bird looks unwell or excessively agitated.
My bird flinches or leans away when I offer my hand, what’s the right regression plan?
Do not correct for fear by forcing contact. If the bird shows repeated back-off signs, go back to being present (the trust stage) and keep your hand still or farther away. When the bird is ready, transition using tiny steps: near-hand feeding first, then brief weight-on-hand rewards before any step-up requests.
What if progress stalls for weeks, should I take a break?
A two to three day break is often helpful, but only if you stop “asking.” Continue with low-pressure presence and occasional treats for calm behavior. If you return and the bird regresses quickly, it can indicate the treat value is insufficient or the session environment is still too distracting or unsafe.
Once the bird sits reliably, can I move around while it’s on my hand?
Sometimes, but it must be done carefully. If the bird clearly tolerates the hand-sit but only tolerates it with calm body language, you can begin teaching “moving while perched” gradually, with very slow foot-to-foot shifts and a solid support surface. If the bird starts to panic during movement, build back up with longer still-perches before introducing any travel.
Can I train wild birds to sit on my hand?
Yes for many pet species, but expect the definition of success to be realistic. For wild birds, you cannot use capture, restraint, or forced contact, and the interaction should be fully bird-initiated. If you want “hand,” the achievable step is often taking seed from an open palm and voluntarily stepping closer, not prolonged sitting.
What does biting mean, and how should I respond in the moment?
It is usually a sign that you are asking for a step too big, too fast, or too often for that bird’s current confidence. After a bite, stop the training request immediately, give space, and resume later at an earlier stage (often being present, then near-hand feeding). For parrots especially, avoid jerky hand movements, because sudden excitement can reinforce the behavior from the bird’s perspective.
Is it safe to hold my bird in place if it hesitates to get off my hand?
Don’t. Until the bird is reliably stepping on and off willingly, avoid wrapping fingers, grabbing the bird, or using the hand as a restraint. If you need the bird to dismount, wait for the bird to step off at its own pace or make the perch area safer and easier to exit rather than trying to pull it away.
Can my clothes, gloves, or hand soap affect the training?
Color, texture, and scent can matter more than people expect. If you switch from bare skin to thick gloves, change the soap on your hands, or introduce strong lotions, you can unintentionally break the trust association. Keep your hand offering consistent, and if you change anything, re-earn neutrality with a short reset session.
Next Article
How to Get a Bird to Land on Your Hand Safely
Humane, safe steps to train birds to voluntarily land on your hand or finger using targeting, treats, and trust building