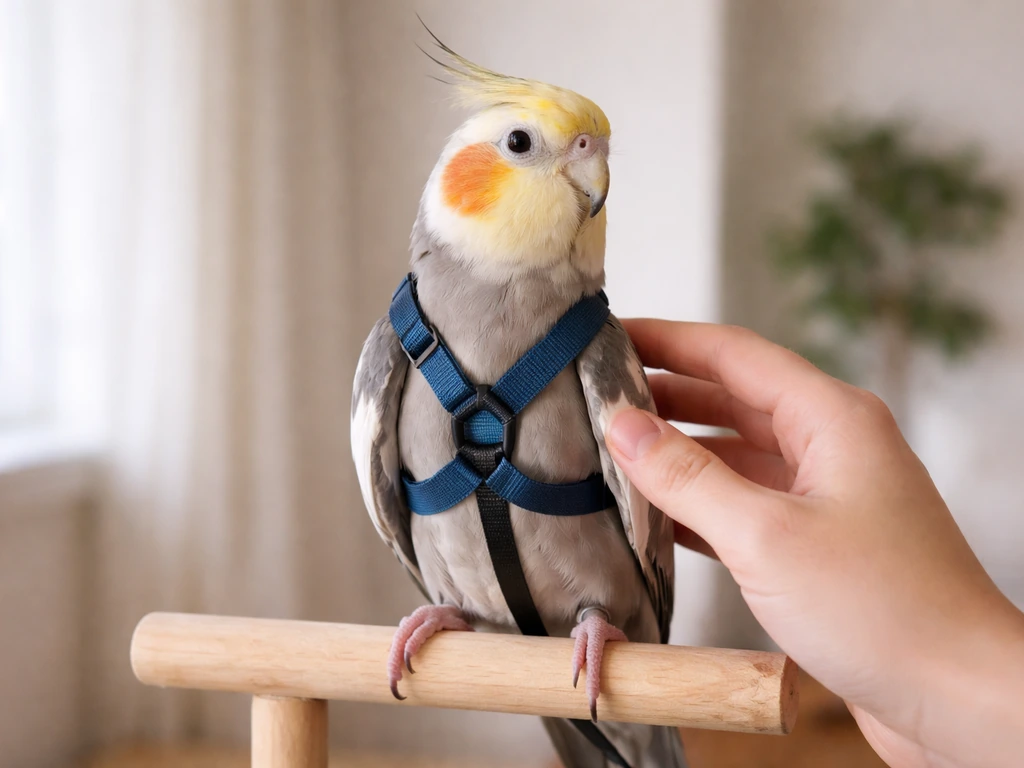
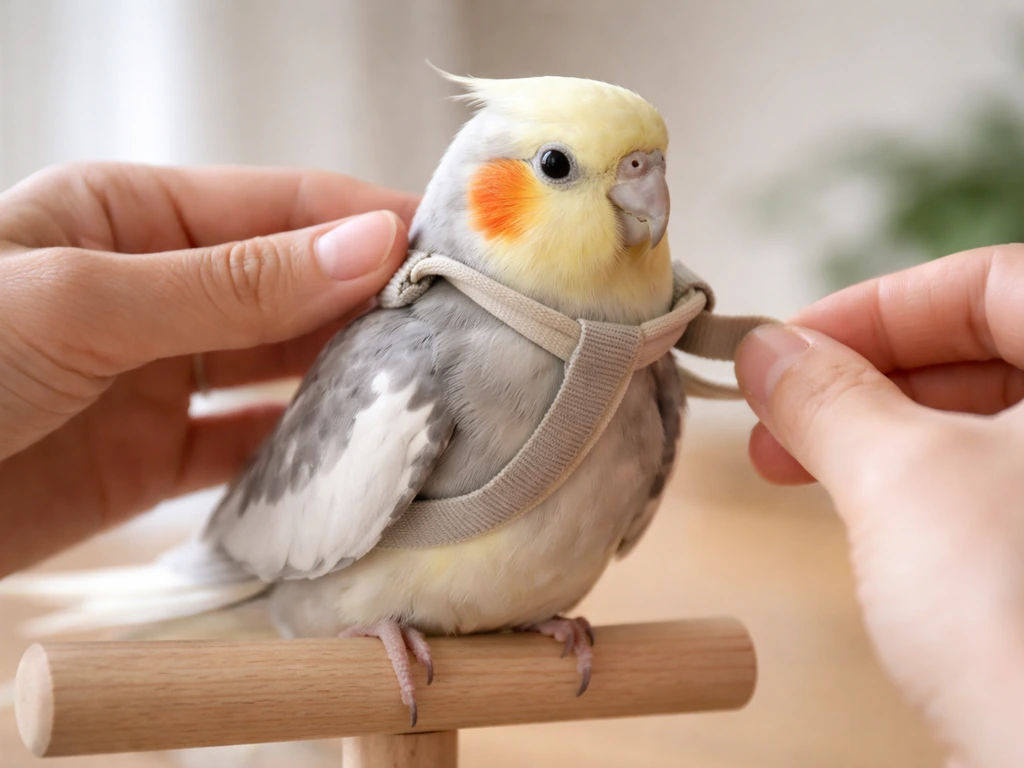
To put a harness on a cockatiel, you slip the neck loop over the bird's head first, then guide one wing at a time through the body loop so the harness sits flat against the chest, and finally clip or tighten the leash attachment so everything is snug but not restrictive. The whole process takes about 30 seconds once your bird is comfortable with it. Getting to that point, though, requires a deliberate acclimation process over days or weeks. Rushing it is the single biggest mistake owners make.
How to Put a Bird Harness on a Cockatiel Safely

Clara Hayes
12 May 2026
When and why to use a cockatiel harness
A harness gives your cockatiel controlled access to the outdoors without the risk of a panicked flight that ends badly. Cockatiels are fast and directionally unpredictable when startled, and even a clipped bird can travel a surprising distance if spooked. A well-fitted harness connected to a leash keeps them tethered to you while still allowing them to enjoy sunlight, fresh air, and environmental enrichment that genuinely benefits their mental health.
That said, a harness is not a substitute for supervision or training. It is a safety tool, and it only works as intended if the bird is comfortable wearing it and if you stay alert the entire time it is on. Harnesses are best suited for cockatiels that are already reasonably hand-tame and comfortable with handling. If your bird is still working on basic trust, building that foundation first will make harness training dramatically easier. Target training and step-up confidence are the same skills that make harness acceptance much smoother.
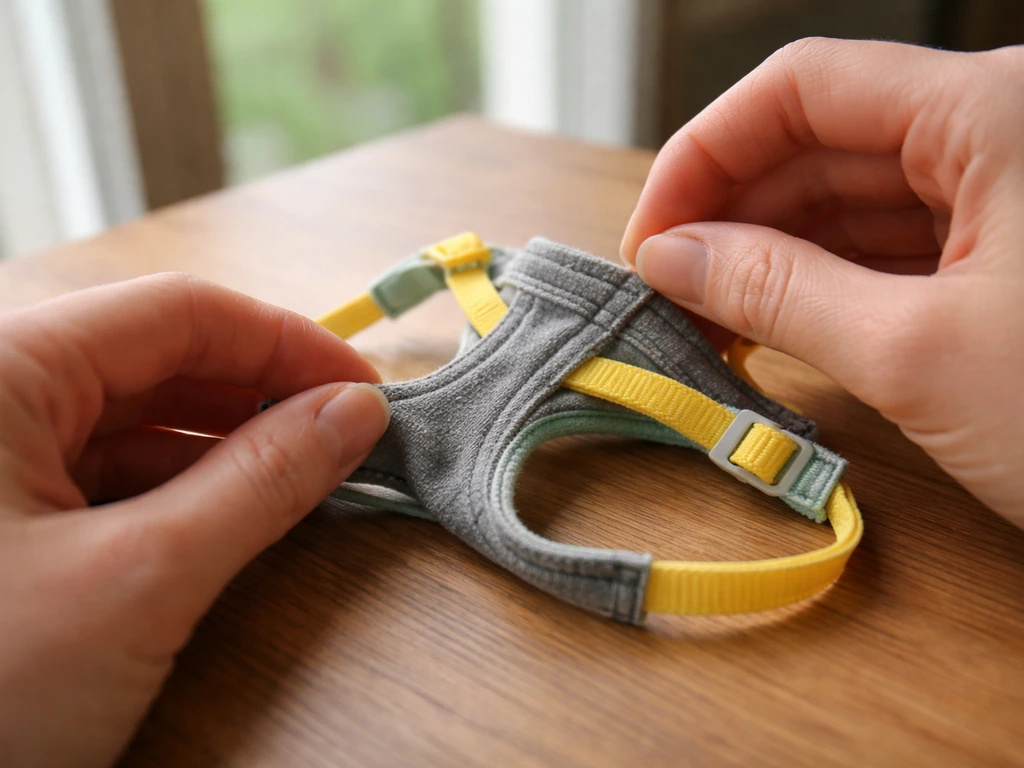
Choosing the right harness size and type
Cockatiels typically weigh between 75 and 110 grams, which puts them in the 'Petite' category on the Aviator Harness sizing chart, the most widely recommended brand for small parrots. The Aviator is specifically designed to be escape-proof and lightweight, which matters a lot for a bird this size. Avoid heavy designs or anything with bulky clasps, because excess weight interferes with comfort and can affect flight posture even during short wearing sessions.
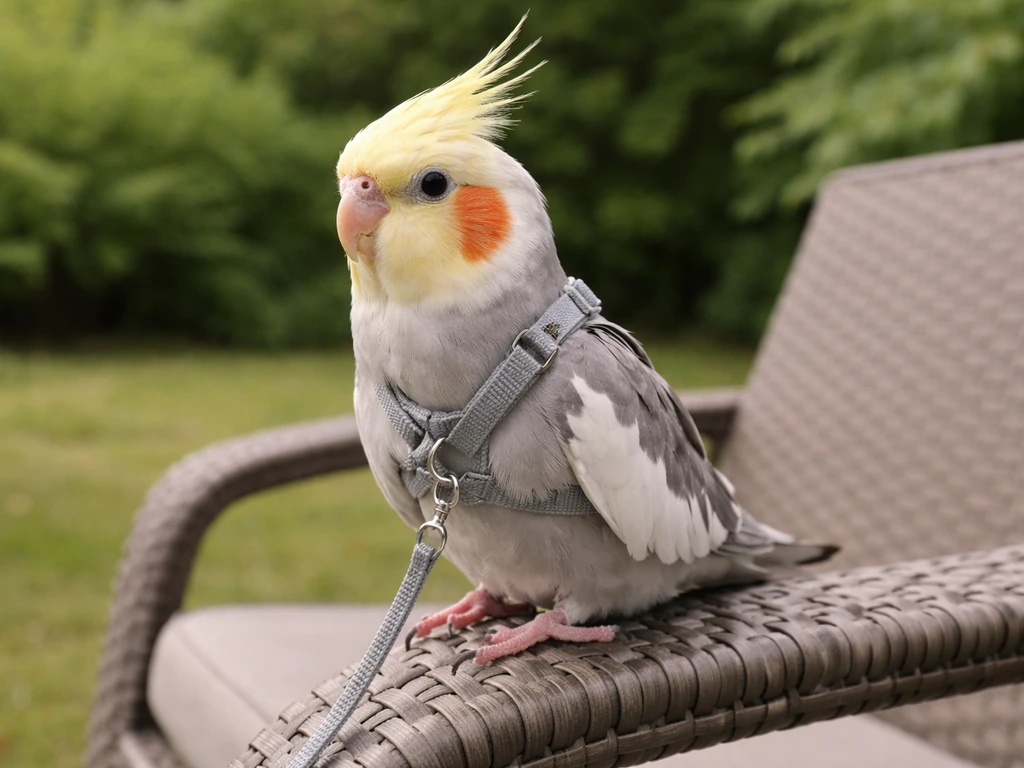
The two main harness styles you'll encounter are the figure-8 and the vest-style. Figure-8 harnesses loop around the neck and body in a single continuous path. They require a very precise fit to prevent escape, because a gap at any point can let a determined cockatiel slip free. Vest-style harnesses wrap more of the body and tend to distribute pressure more evenly, but they can feel more restrictive to birds that aren't used to them. For most cockatiel owners, the Aviator-style figure-8 is the practical first choice because sizing is well-documented and the design has a strong track record.
| Harness Type | Fit Complexity | Escape Risk | Best For |
|---|---|---|---|
| Figure-8 (e.g. Aviator) | Moderate, weight-based sizing | Low when sized correctly | Most cockatiels, especially tameable ones |
| Vest/wrap style | Higher, more variables | Low to moderate | Birds sensitive to neck loop pressure |
| DIY or unbranded | Unpredictable | Higher | Not recommended |
One more thing: do not modify the leash to make it detachable. It might seem convenient, but harness manufacturers specifically advise against it because altering the connection integrity introduces failure points. Buy the right size from the start and leave the design as-is.
Prepping your cockatiel before the first fitting
Health check first
Before you introduce a harness at all, take an honest look at your bird's health. If your cockatiel has any history of breathing problems, obesity, weakness, or feather damage, talk to your avian vet before starting harness training. Struggling in a harness can be physically taxing, and a bird that is already compromised should not be put through that stress. Merck Veterinary Manual notes that bird handling and restraint should be managed carefully to help reduce stress, which is one reason acclimation matters before attempting harness use Struggling in a harness can be physically taxing, and a bird that is already compromised should not be put through that stress.. Stop any training session immediately and call your vet if you see open-mouth breathing at rest, tail bobbing, collapse, persistent fluffed posture after a session, or any sign of injury.
If you have a new cockatiel, wait until after their quarantine period, typically 30 to 40 days, before starting any harness work. You want a baseline of normal behavior established so you can accurately read stress signals.
Building the right trust foundation
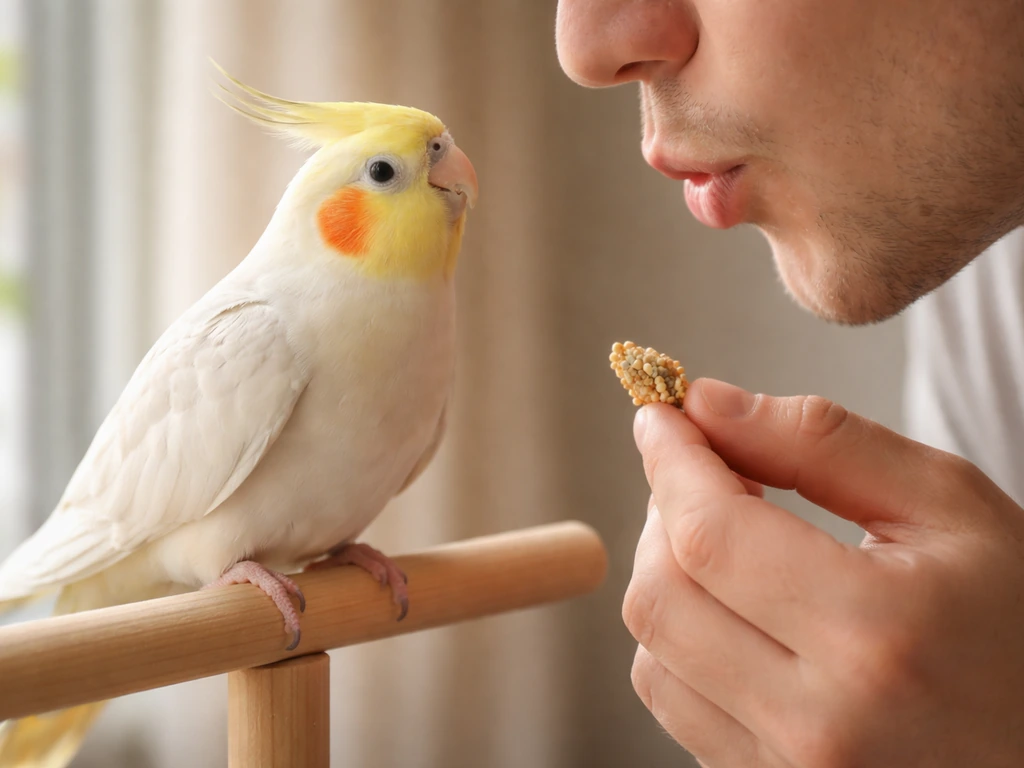
Your cockatiel needs to be comfortable stepping up onto your hand and accepting touch before a harness makes any sense. If they are still fearful of hands, start with target training first: teach the bird to touch their beak to a target stick (a chopstick with a small ball on the end works well) for a treat reward. Once your cockatiel is comfortable with target training, you can use similar reward timing to teach them how to talk over time. This builds communication and cooperation without requiring physical contact. Once they are reliably stepping up and accepting gentle touch on the wings and chest, they are ready to meet the harness.
Pre-session calming routine
Choose a time when your bird is naturally calm, usually mid-morning after they have eaten and had some activity. Avoid right after waking up, during molt, or at dusk when cockatiels tend to be more reactive. Keep sessions short, 5 to 10 minutes maximum, and end on a positive note every single time. Have their favorite treat ready, something genuinely motivating like a small piece of millet spray or a sunflower seed.
Step-by-step: how to put the harness on your cockatiel
This process assumes your bird has been through the desensitization phase (below) and is already comfortable with the harness being nearby and touching them. If you are skipping straight to this step, go back and do the prep work. If you are also working on how to catch a cockatiel safely, the same calm, trust-building approach will help you avoid spooking the bird catch cockatiel bird. Forcing the harness on a panicked bird creates lasting aversion and makes future attempts much harder.
- Have your cockatiel step up onto your non-dominant hand or a perch at chest height. You want them calm, not gripping tightly or leaning away.
- Hold the harness open with your dominant hand, neck loop expanded. Let your bird see and sniff it for a moment. If they reach out to beak it, that is a great sign. Reward it.
- Slowly bring the neck loop over their head from the front, not from above or behind. Move with calm, deliberate speed, not slow-motion hesitation and not a quick grab. Reward the moment the loop is around their neck.
- Gently guide the first wing through the corresponding body loop. Support the bird's body throughout. You are not forcing the wing through, you are guiding it by lightly lifting the wing and drawing the loop underneath it. Reward immediately.
- Repeat with the second wing. The harness body piece should now sit flat on the chest, with the leash attachment point on the back between the wings.
- Check fit before doing anything else (see the next section). If something looks off, remove calmly, adjust, and try again rather than forcing a poor fit.
The goal, as Lafeber's avian team puts it, is that the bird volunteers to put their head through the harness opening. That level of cooperation takes practice, but it is worth working toward because it means your bird genuinely accepts the process rather than just tolerating it.
Fitting checks: comfort, security, and preventing chafing
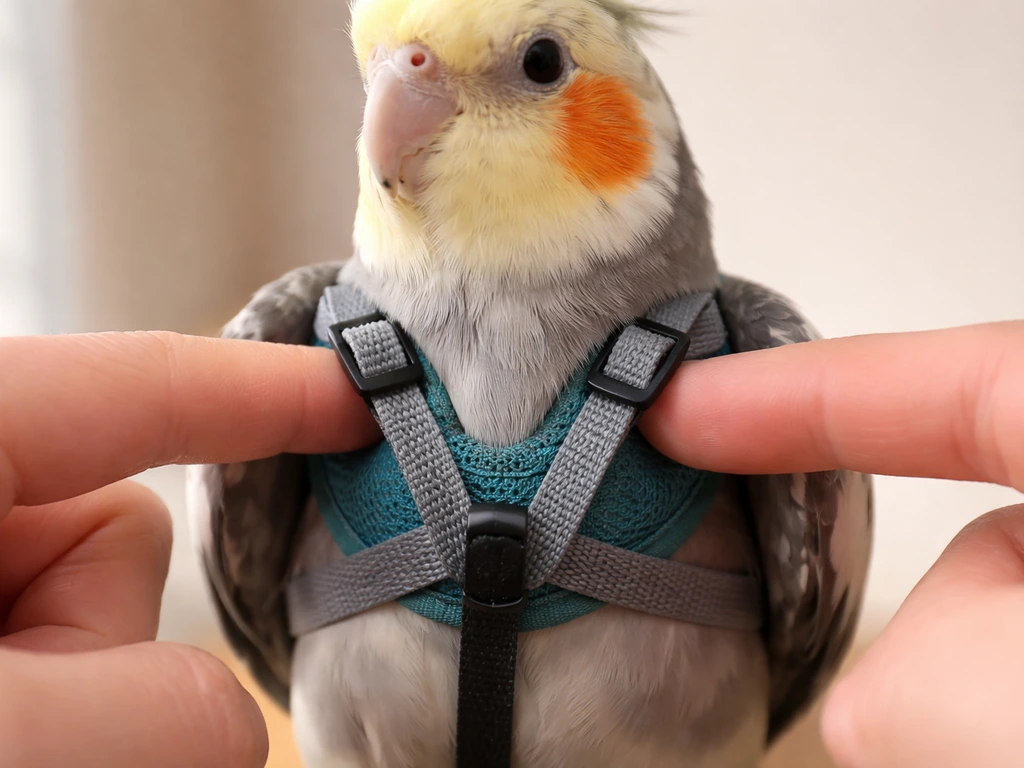
A properly fitted harness should feel snug without being tight. The standard test is the finger check: run one finger under each strap. You should be able to slide a finger underneath without forcing it, but the strap should not be loose enough to flip around or rotate freely. If you can slide two fingers easily, it is too loose and escape risk goes up. If you cannot get one finger underneath, it is too tight and can restrict breathing or cause pressure sores.
- Neck loop: should sit high enough that it does not slip down over the wings, but not so high it puts pressure on the throat. One finger clearance.
- Body loops (around each wing base): should allow the wings to open partially for balance without the harness riding up or shifting.
- Chest piece: should lie flat against the breastbone, not twisted or bunched.
- Leash attachment point: should sit centered between the shoulder blades. If it is pulling to one side, the harness is twisted.
- Watch for feather pinching: gently run your fingers along each strap edge after fitting to feel for any feathers caught under the material.
After fitting, let your bird move around on your hand or a perch for a minute and watch their posture. A comfortable bird will stand normally and may even preen. A bird that crouches, repeatedly tries to bite at the harness, or holds their wings away from their body is telling you something is wrong with the fit or they are not ready yet. Take the harness off calmly, reward them, and troubleshoot before trying again.
Building comfort over time: the acclimation protocol
Week 1: desensitization (harness out, no wearing yet)
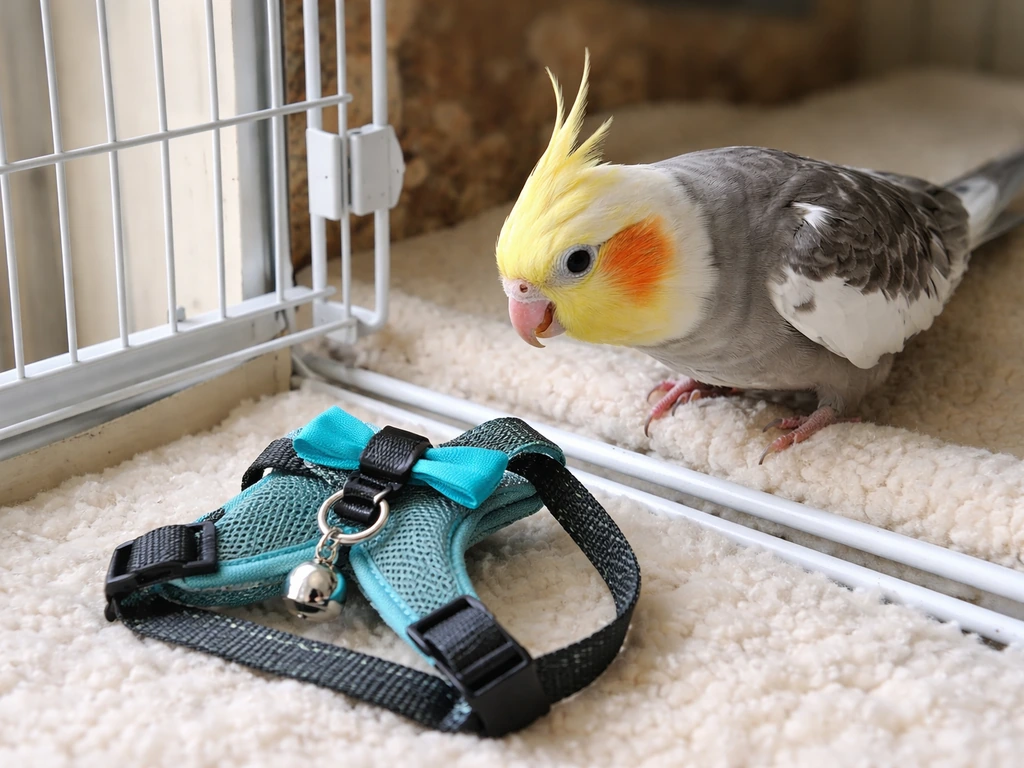
Place the harness near your cockatiel's cage or play area every day. Let them investigate it on their own terms. When they look at it, move toward it, or touch it, reward them. You are teaching them that the harness predicts good things before it ever goes on their body. This phase can last anywhere from a couple of days to over a week depending on the bird's temperament.
Week 2: touch and treat
Start bringing the harness into contact with your bird's body, one step at a time. Touch it to their chest and reward. Hold the neck loop near their head and reward if they stay calm. Let them beak the harness and reward. The Aviator's own training guidance recommends touch and target training at this stage specifically because you are shaping voluntary engagement rather than forcing compliance. Each session should end with the bird still in a good mood.
Week 3 and beyond: progressive fitting
Now you work through the fitting steps incrementally. Neck loop on, big reward, harness removed. Neck loop plus one wing, big reward, harness removed. Full fit for 30 seconds, reward throughout, harness removed. Gradually extend the wearing time each session. Vetafarm's training guidance specifically recommends rewarding at each progressive stage and then moving the harness away afterward, which keeps each contact point a positive experience rather than the beginning of something the bird wants to escape.
Troubleshooting common problems
| Problem | Likely Cause | What to Do |
|---|---|---|
| Biting when harness approaches | Not enough desensitization, moving too fast | Back up to touch-and-treat phase, slower approach |
| Bird freezes or goes rigid | Fear response, overwhelmed | Shorten sessions, reduce approach speed, more rewards earlier in the sequence |
| Harness slips or rotates | Wrong size or too loose | Check weight against sizing chart, adjust straps or try next size down |
| Bird picks at harness constantly | Irritation or unfamiliar sensation | Check for feather pinching, verify fit, extend indoor wearing gradually |
| Won't settle after harness comes off | Session too long or too stressful | Shorten sessions, end earlier, offer extra enrichment after |
Taking it outside: safe wearing rules and keeping up with maintenance
Once your cockatiel is wearing the harness calmly indoors for 10 to 15 minutes without fussing, you can start outdoor sessions. Start small: step outside onto a covered porch or balcony for just a few minutes. The Vet Desk recommends beginning outdoor exposure with the bird inside a cage until you are confident they are not likely to flee, and that is genuinely good advice. The sensory difference between indoors and outdoors can be overwhelming even for a bird that is comfortable with the harness inside.
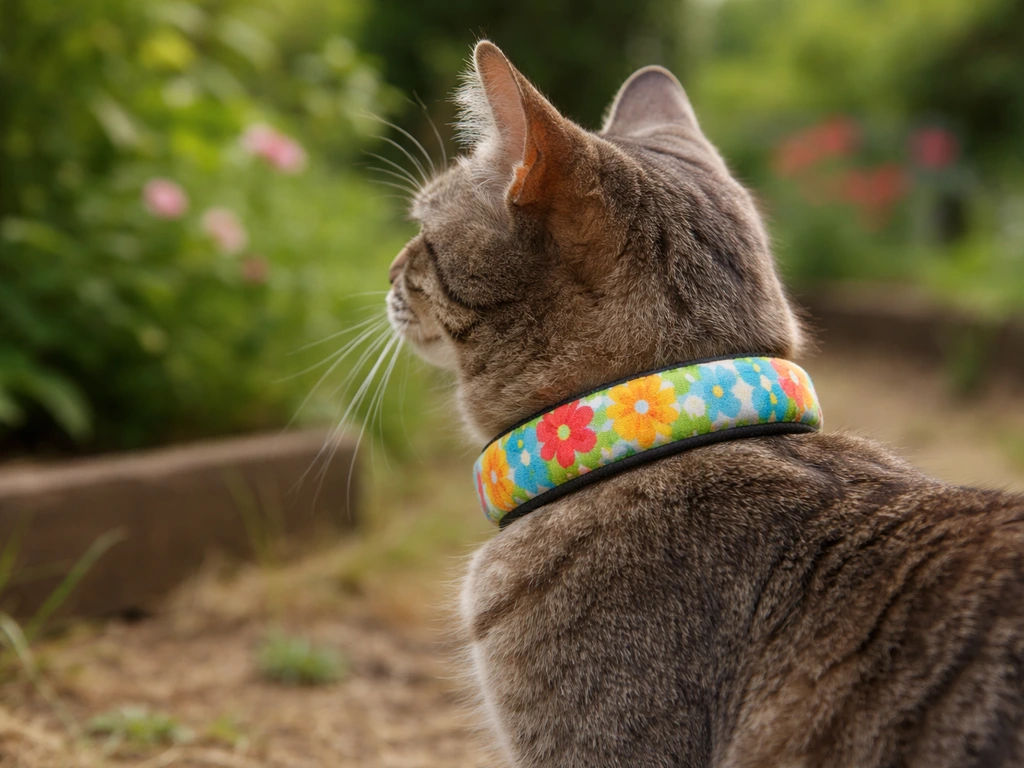
Never leave a harnessed cockatiel unsupervised, even for a moment. blank" rel="noopener noreferrer">Never leave a harnessed cockatiel unsupervised, and VCA emphasizes bird-specific veterinary guidance that protective restraint devices should be used under supervision with appropriate safety considerations. The leash can tangle on branches, furniture, or fencing, and a panicked bird can injure themselves trying to escape. Keep the leash short enough that you can reach the bird quickly. Avoid areas with dogs, cats, raptors overhead, or heavy foot traffic until your bird has built up outdoor confidence. If you’re curious about the real-world scenario, cats use instinctive stalking and pouncing behaviors to catch birds. If you also use a cat collar or similar item around birds, make sure it cannot rub, tighten, or allow escape, and always supervise closely cat collar safe for birds. Check for toxic plants anywhere your bird might reach while on the leash.
- Start outdoor sessions at 3 to 5 minutes and build gradually based on your bird's body language, not a fixed schedule.
- Avoid going out in high wind, heavy heat above 85 degrees Fahrenheit, or cold below 60 degrees Fahrenheit, as cockatiels are sensitive to temperature extremes.
- Hold the leash loosely but maintain contact at all times. Do not loop it around your wrist, as a sudden flight attempt can injure the bird if the leash jerks taut.
- Watch for predators above, especially hawks. If your bird suddenly goes rigid or calls in alarm, bring them inside immediately.
- There is no fixed safe outdoor duration. Supervision quality and your bird's comfort level are the actual limits.
Harness maintenance and when to replace
After each outdoor session, inspect the harness for fraying, stretched elastic, weakened stitching at stress points, or any discoloration from droppings or UV exposure. Elastic that has lost its tension will not hold a correct fit, and frayed stitching near the clips or loops is a structural failure waiting to happen. Clean the harness with a damp cloth and mild bird-safe soap, rinse thoroughly, and air dry completely before the next use. Replace the harness if any part looks compromised; they are inexpensive compared to the cost of losing a bird.
Set realistic expectations for yourself and your bird. Some cockatiels accept a harness within two weeks of consistent, positive training. Others take two months. The speed depends on the individual bird's temperament, their existing trust in you, and how consistent you are with sessions. If you have been working on general handling and taming already, that groundwork pays off here. Patience and consistency will get you there. Once your cockatiel is comfortable and safe with daily care routines, you can focus on the best way to grow a healthy, well-socialized bird how to grow cockatiel bird.
FAQ
How do I know which harness size and model to buy for a cockatiel?
Use your cockatiel’s current weight to pick the correct petite range, then confirm the fit with the finger check after it’s on. If the straps sit high on the neck, slide around the chest when the bird moves, or the neck opening leaves gapping anywhere along the path, size or style is off and you should exchange before trying to “make it work.”
What should I do if my cockatiel keeps trying to bite the harness during fitting?
Stop as soon as the biting is persistent, remove the harness calmly, and only retry after a short decompression period. Rebuild the step you skipped, typically going back to touching the chest with the harness or letting the bird beak the harness near your hand, then progress only when the bird stays engaged instead of escalating.
My bird gets excited outdoors and flaps hard, is that okay?
Initial flapping can be normal, but watch for signs of panic such as frantic attempts to twist free, repeated crouching, or repeated wing-away from the body. If you see that, end the session early, keep the leash shorter, and use a covered area next time since open sky exposure can spike arousal and make escape attempts more likely.
Can I put the harness on a cockatiel while it’s on its perch instead of my hand?
It’s usually safer to fit on your hand or a stable, low perch where you can control the bird’s head and wing placement without twisting the body loop. If your bird is hard to control in the perch environment, do not force it, use a training step to improve step-up first, then resume fitting in the more controlled setup.
How long should I keep a cockatiel in the harness during the training phase?
Start with very brief wearing sessions that end on a positive note, then extend only after the bird can stay calm and upright for the full indoor interval. If the bird shows repeated crouching or tries to bite at the straps, keep the next session shorter rather than pushing through discomfort.
What’s the safest way to adjust the harness after I clip it on?
Adjust in tiny increments and re-check the finger space right after tightening. Then do a posture check again (standing normally, relaxed wings, no persistent fluffed posture). Avoid over-tightening to stop movement, if a strap flips or rotates even with correct finger space, that usually means you need a different size or harness style.
Can I leave the harness on between training sessions?
Don’t leave it on unsupervised, even at home, because a bird can catch the leash or snag the harness. If you want “practice time” in the cage, only do it when supervised and with the leash managed, and remove it if the bird escalates to frantic behavior.
What indoor signs mean the harness fit is wrong or the bird is not ready yet?
If the bird crouches low, holds wings away from the body, repeatedly tries to bite at the harness, or keeps a persistently fluffed posture after a session, treat that as a fit or readiness problem. Remove the harness, reward calm behavior without the harness, and return to an earlier training step before trying again.
How do I manage the leash so it doesn’t tangle?
Use enough slack for normal movement, but keep the leash short enough that you can reach the bird quickly if it tries to climb or turn into furniture. Keep it away from branches, gaps in furniture, and anything the bird can hook with a foot, and keep your environment uncluttered until your bird has outdoor confidence.
How should I clean the harness, and when should I stop using it?
Wipe down with a damp cloth and mild bird-safe soap, rinse thoroughly, then air dry completely. Stop using it if you see frayed stitching, stretched or weakened elastic, damaged loops near clips, or any part that no longer holds its shape under normal tension, since loss of elasticity increases escape risk.
What outdoor locations should I avoid at first?
Avoid heavy traffic areas and places where pets might be present, and do not start under birds of prey overhead or near tall fencing where a leash could snag. Begin with a covered porch or balcony and keep sessions short, then move only when your bird stays calm through the full leash duration.
Is it safe to use a harness on a cockatiel that isn’t fully hand tame?
It’s best to wait until the bird is reasonably comfortable with handling and stepping up, and harness work should not replace trust-building. If your cockatiel still startles strongly with touch on wings or chest, focus on target training and step-up confidence first, then reintroduce harness steps once the bird offers calm cooperation.
What should I do if I suspect a breathing issue while training?
Remove the harness immediately and monitor breathing. If you observe open-mouth breathing at rest, tail bobbing, collapse, or sustained difficulty after a session, contact an avian veterinarian before attempting any further harness training.
How do I know whether it’s time to replace the harness even if it looks fine?
Replace it if the finger-check fit no longer holds consistently after tightening, if strap movement increases due to stretch, or if UV exposure has changed the webbing or discoloration suggests the fabric is degrading. Since a stretched harness can shift and create escape gaps, don’t “wait for damage” if the fit performance declines.
Next Articles
How to Train a Cockatiel Bird to Talk: Step-by-Step Guide
Humane, step-by-step training to teach cockatiel to talk-like sounds and a few words using rewards, timing, and troubles
How to Make a Bird-Safe Cat Collar: Safe Fit Steps
Learn how to make a bird safe cat collar with fit steps, risk checks, training, and alternatives if it fails.
How to Pet a Cockatiel Bird Safely Step by Step
Step by step, trust building tips to pet a cockatiel safely, with body language, training cues, and bite-proof troublesh