Training a bird to wear a harness is absolutely doable, but it takes patience, the right equipment, and a willingness to go at your bird's pace. Most birds can learn to accept a harness in two to eight weeks of short daily sessions. Some take longer. The key is treating every tiny step forward as a win and never forcing the process. Here is exactly how to do it safely.
How to Train Your Bird to Wear a Harness Safely
Clara Hayes
18 Apr 2026
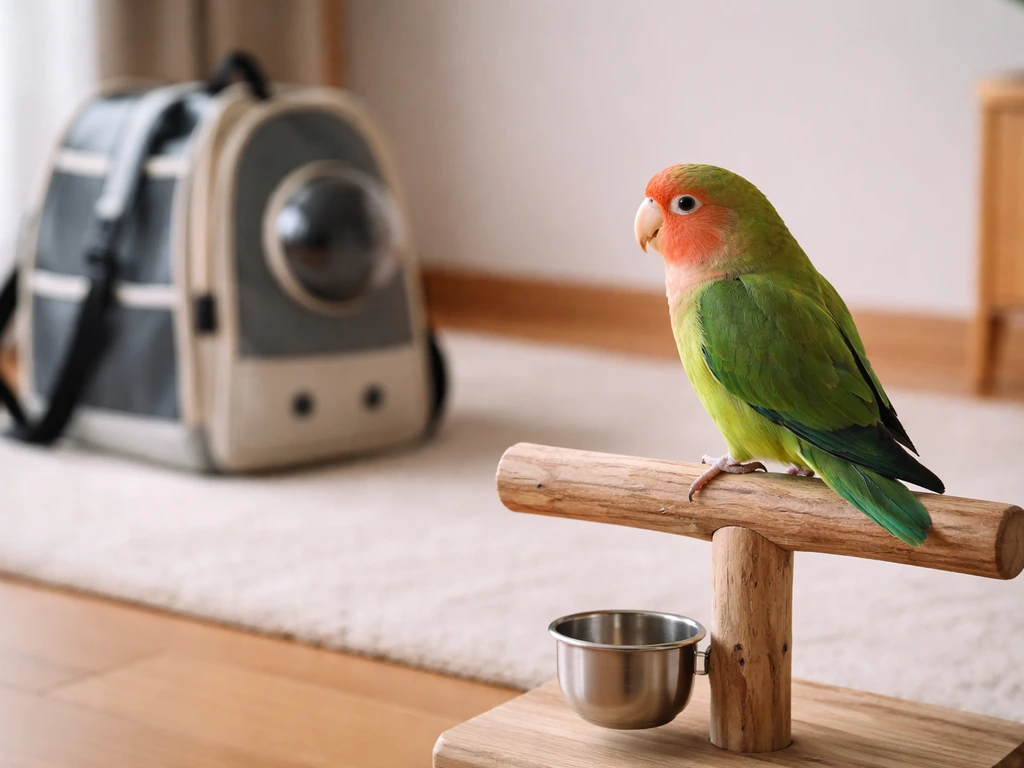
Choosing the right bird harness and fitting it safely
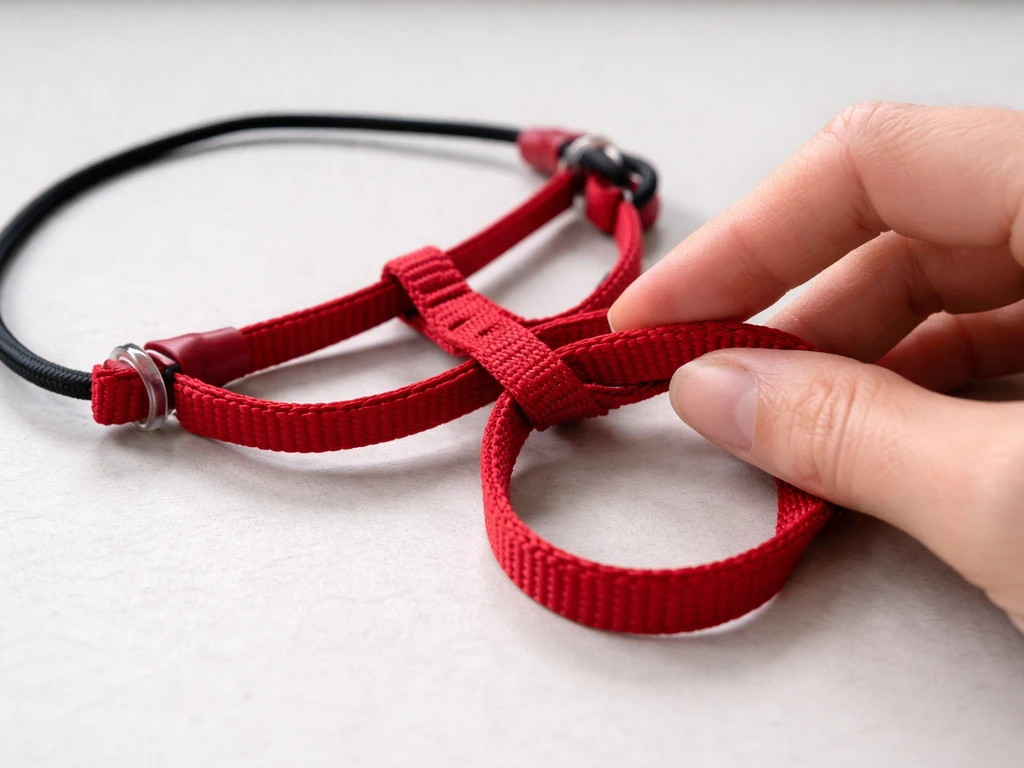
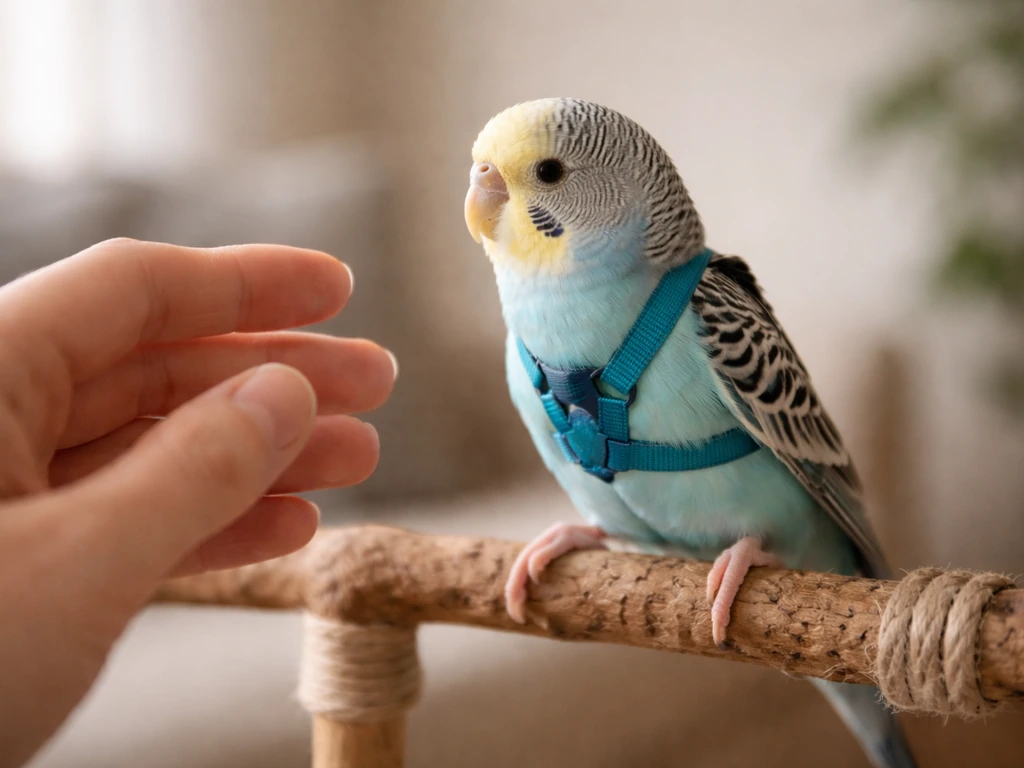
Before you train anything, you need the right harness. The Aviator Harness is one of the most widely recommended options: it is made from woven nylon strap material and is designed to prevent escape during supervised outdoor use without impeding natural movement. The Saf-T Shield is another popular choice, particularly for smaller birds.
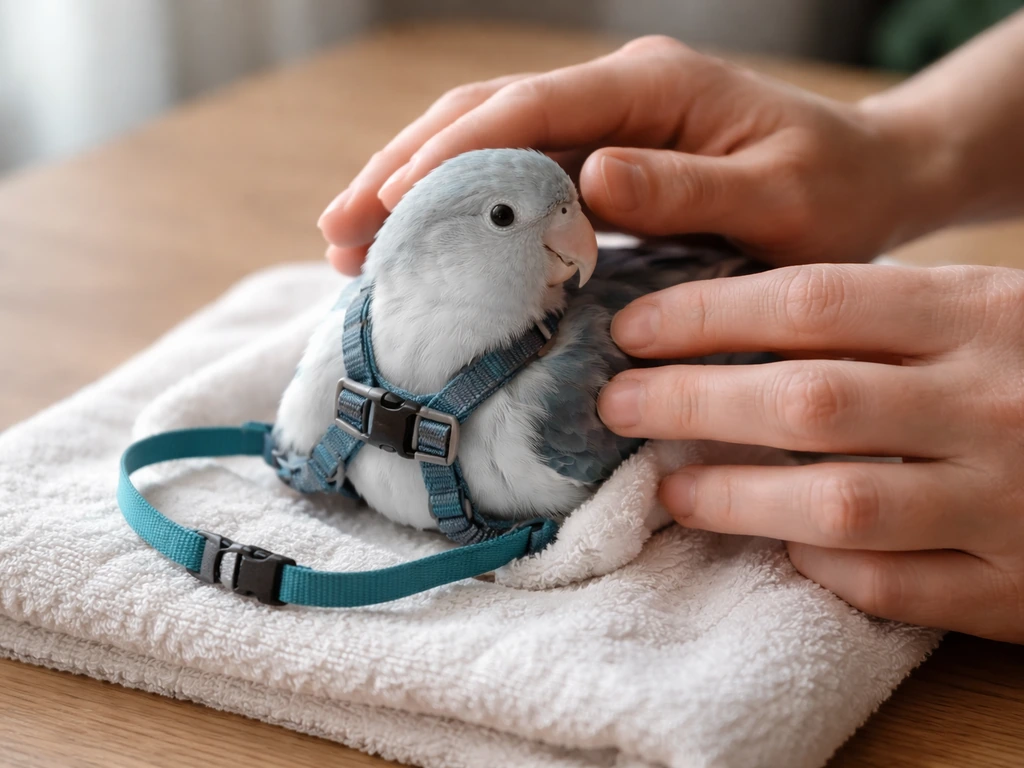
Size matters enormously. A harness that is too loose is an escape risk; one that is too tight restricts breathing and can cause injury. The Aviator comes in a range of sizes tied to body weight. Their X-Small fits birds in the 110 to 190 gram range (quakers, senegals, medium parakeets, doves). Their Mini size covers birds under 75 grams, and the Small covers birds in the 190 to 425 gram range. The Saf-T Shield has its own sizing reference: for cockatiels with a larger girth, they list a girth measurement around 6.5 inches corresponding to their 406XS size code.
Once you have a harness in hand, use the two-finger test: you should be able to slide two fingers comfortably between the chest strap and your bird's body. If you cannot slide two fingers in, it is too tight. If you can fit three or more, it is too loose. Beyond that, a properly fitted harness should not rub the skin, twist, press on the throat, or restrict normal chest movement.
Check that the collar sits snug against the chest, not floating away from it, because a loose collar is actually a common cause of fit problems with smaller harnesses. If the harness does not fit correctly after adjusting, most reputable brands will allow you to exchange it for another size.
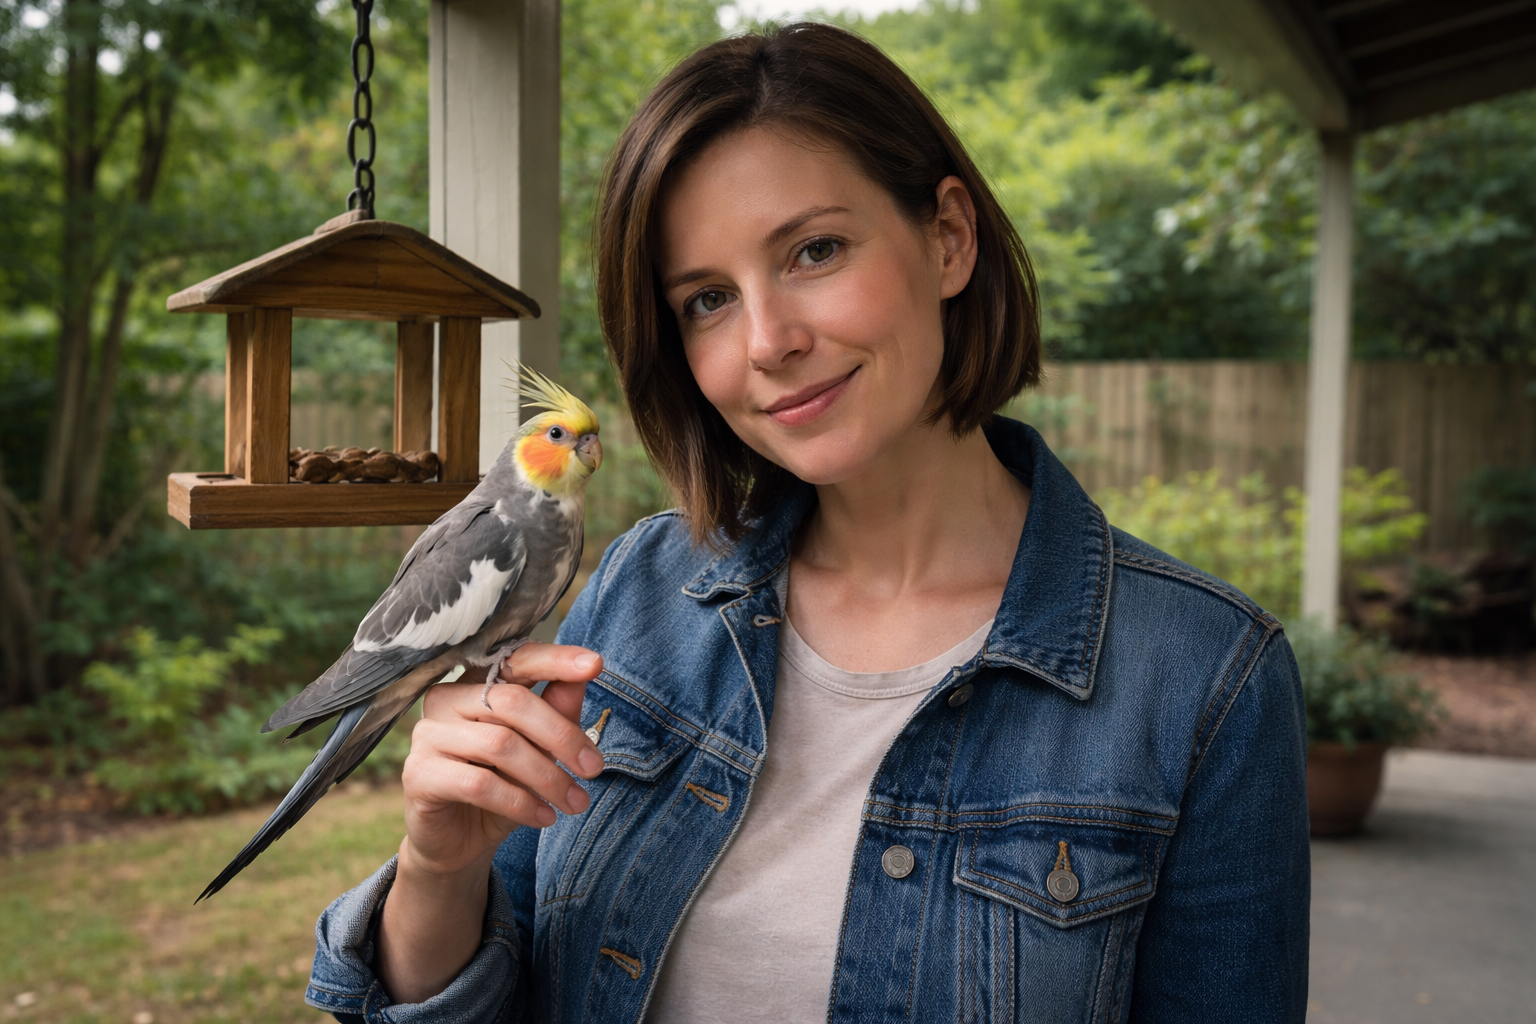
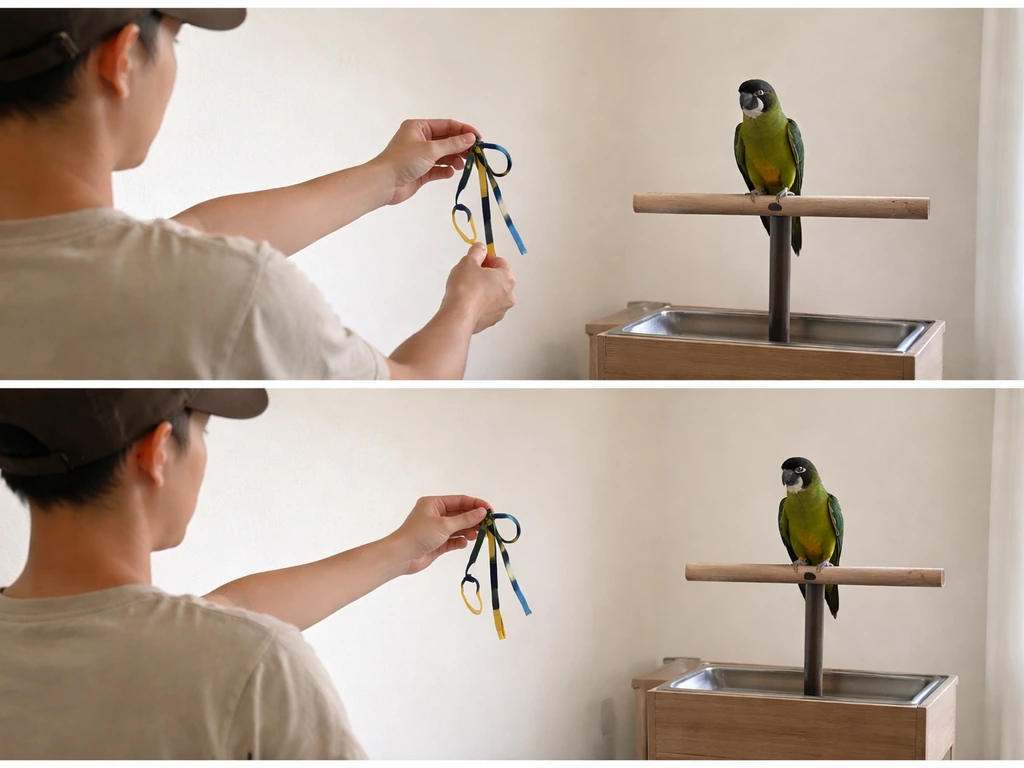
Building trust and basic handling cues before harness training
A bird that does not trust you yet is not ready for harness training. Full stop. Rushing past this phase causes setbacks that can set you back weeks. If your bird is still biting, refusing to step up, or ducking away from your hand, work on those basics first. A receptive bird that is already comfortable being touched is significantly easier to teach harness wearing.
Build comfort with touch in small steps. Practice gentle scratches on the head and neck. Practice handling the bird's wings briefly (just a light touch, not a full spread). Work on a reliable step-up cue. If you are starting from scratch with a young bird, learning how to pet a cockatiel properly is a great foundation for this phase, because the principles of reading body language and earning consent apply across all companion bird species.
Use your bird's favorite treats as a marker for good behavior. Timing matters here: reinforcement should happen at the exact second the desired behavior occurs, not a few seconds later. A clicker or a clear verbal marker like "yes" helps you mark the exact moment. Keep initial sessions short, around 15 to 20 minutes maximum, and always end while the bird is still willing and engaged.
Step-by-step harness training sequence
Stage 1: Get the harness into the room (days 1 to 3)
Start by simply having the harness visible during your regular interaction time. Do not bring it close. Let your bird see it from a distance, notice it, and go back to doing normal things. Feed treats, talk, play. The goal here is: harness is present, bird is calm. That is it. Exposure to the harness material without fear is a measurable early milestone.
Stage 2: Introduce the harness up close (days 3 to 7)
Now bring the harness closer, slowly. Hold it in your hand and let your bird investigate. If your bird sniffs it, touches it with its beak, or steps toward it, reward immediately. If your bird retreats, you are moving too fast. Go back a step. Do not wave the harness around or make sudden movements. Just let it be a neutral object in your bird's space.
Stage 3: Touch the harness to your bird's body (days 7 to 14)
Once your bird is comfortable with the harness nearby, start touching it gently to different parts of the body: the chest first, then the back, then near the wings. Each touch gets a treat reward if the bird stays calm. Small approximations are the engine of this whole process. Rewarding tiny steps, like the harness resting lightly against the chest or your bird placing its head near the neck opening, counts as real progress at this stage.
Stage 4: Practice slipping it on briefly (days 14 to 21+)
This is the trickiest step and where most people rush. Practice guiding your bird's head through the neck loop without fastening anything. Reward immediately. Repeat until your bird is relaxed about that motion. Then practice fastening one side. Then unfasten it right away and reward. Gradually build to having the harness fully on for a few seconds, then a minute, then longer. The progression should feel boring to your bird, not alarming. If you need detailed guidance on physically putting the harness on without causing distress, the article on how to put a bird harness on a cockatiel walks through the exact hand positioning step by step.
Stage 5: Short indoor wears, then build duration
Once the harness goes on without drama, keep initial wear sessions to just a few minutes indoors. Watch your bird's body language throughout. As your bird relaxes, slowly increase duration over several days and weeks. Before you ever think about going outdoors, your bird should be wearing the harness calmly for at least 15 to 20 minutes without any stress signals. After you have built up to comfortable indoor sessions, you can practice attaching the leash indoors before attempting any outdoor trial. For a clear breakdown of how to attach and hold the leash safely, the guide on how to put a leash on a bird covers the mechanics in detail.
Species-specific tips for common companion birds
Not every bird approaches harness training the same way. Here is a quick breakdown by species:
| Species | Typical weight range | Harness size (Aviator) | Temperament notes |
|---|---|---|---|
| Cockatiel | 75 to 120g | Mini to X-Small depending on individual | Can be flighty; progress slowly at Stage 2 and 3 |
| Budgerigar (budgie) | 25 to 40g | Mini (under 75g) | Very small and fast; harness training is challenging, some individuals never fully accept it |
| Quaker parrot | 110 to 140g | X-Small | Generally bold; often progresses faster through early stages |
| Senegal parrot | 125 to 170g | X-Small | Can be nippy if pushed; trust-building phase is especially important |
| Amazon / African Grey | 300 to 600g+ | Medium to Large | Larger birds tolerate harness well once trust is built; take time with head-loop step |
| Macaw | 900g to 1.5kg+ | Large to X-Large | Strong; use thick woven harness; slow desensitization is critical |
Cockatiels deserve a special mention because they are one of the most common pet birds people attempt to harness train. They can be nervous and flighty, which means Stage 1 and Stage 2 (simply getting them comfortable with the harness being present) often take longer than with bolder species. If you are raising a cockatiel from young and building all these behaviors together, it helps to understand how to raise a cockatiel well overall, because a bird with a confident, enriched upbringing tends to adapt to new experiences more readily.
Finches are generally not harness candidates. They are small, fast, and highly stress-prone, and the handling required to fit a harness carries real welfare risks for most individuals. If you have finches and want outdoor enrichment, safe outdoor aviaries are a much better option than harness training.
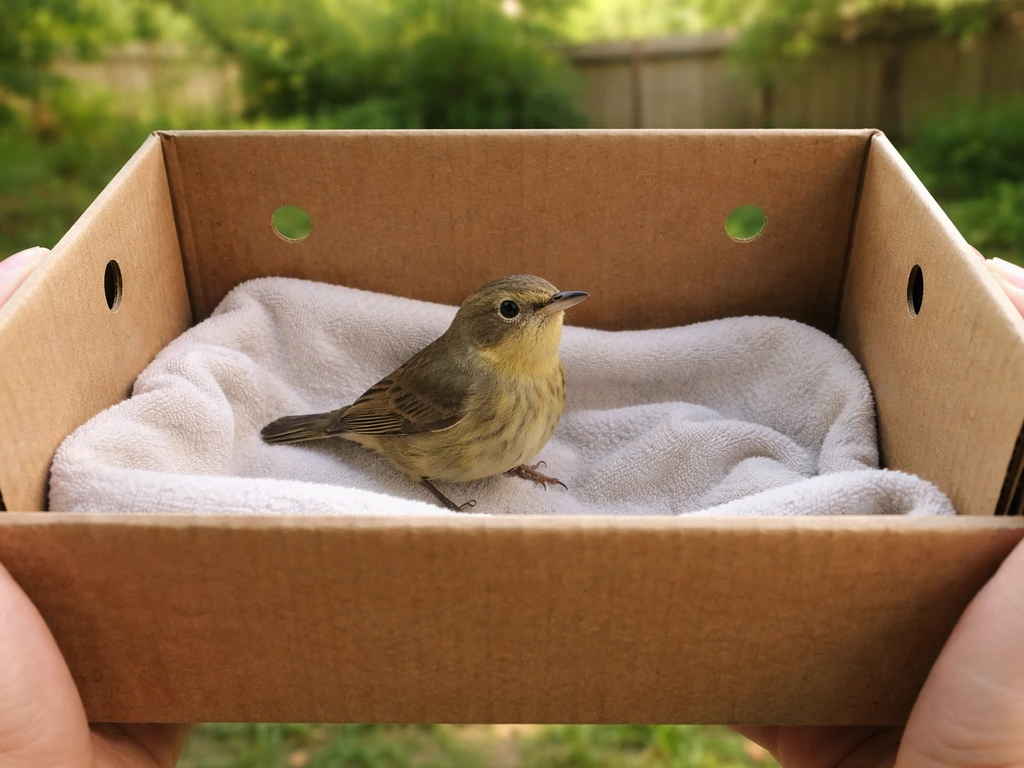
A note on wild birds: if you have encountered an injured or grounded wild bird in your yard and are wondering whether a harness is appropriate, the answer in almost all cases is no. Wild birds should not be handled beyond what is necessary for safe containment and transport to a licensed wildlife rehabilitator. Attempting to harness a wild bird is stressful for the animal and may be illegal depending on your location. The right tool for a wild bird is a secure, ventilated box, not a harness.
Troubleshooting common problems and keeping sessions humane
Problems will come up. Here is how to handle the most common ones:
- Bird retreats or flies away when harness appears: You are moving too fast. Go back to Stage 1 and reduce the harness's proximity. Let your bird re-approach on its own terms.
- Bird bites when you try to put the harness on: This usually means you skipped ahead in the progression or your bird is not comfortable with handling yet. Go back to touch desensitization and build more trust before re-introducing the harness.
- Bird chews at the harness frantically after it is on: Remove the harness immediately and end the session. This is a clear stress signal. Your bird needs more gradual conditioning at Stage 3 before moving to Stage 4.
- Bird cannot perch normally while wearing the harness: Check fit first. A harness that is twisted or too tight can interfere with balance. If fit is correct, the bird may just need more practice at short wear durations.
- Bird refuses favorite treats during a session: This is a welfare red flag. A bird that is too stressed or frightened to eat its favorite food is telling you something important. Remove the harness and end the session.
- Feather damage or skin redness after sessions: Inspect the harness for rough edges or twisting. Check that it passes the two-finger test. Post-session, always check for feather damage, skin irritation, limping, or unusual quietness.
If your bird shows signs of anxiety or aggression that are getting worse rather than better despite a gradual approach, it is worth consulting an avian behavior specialist before continuing. Some birds have had traumatic past handling experiences that need a more tailored desensitization plan. Similarly, some behaviors like feather-destructive behavior that gets worse during training need veterinary attention. Understanding the difference between a bird acting out due to stress versus one showing signs of prey-like panic responses can help you read your bird's body language more accurately during sessions.
Safety, welfare, and legal/ethical considerations
Stop the session immediately and remove the harness if you see any of these signs:
- Open-mouth breathing
- Tail bobbing with each breath (this indicates breathing difficulty and can be a veterinary emergency)
- Repeated falling from the perch
- Frantic, uncontrolled wing flapping
- Prolonged freezing or wide-eyed panic
- Weakness or unsteady posture
- Biting that is completely out of character for your bird
blank" rel="noopener noreferrer">Open-mouth breathing and tail bobbing are signs to take seriously any time they appear. If they persist after you have removed the harness and your bird has had several minutes to calm down, contact your avian vet.
Harness training is not appropriate for every bird. Very young birds whose bones are still developing, birds recovering from illness or injury, birds with respiratory conditions, and birds that show severe fear responses after multiple weeks of patient conditioning are not good candidates. Do not push through distress in the name of getting your bird outdoors. The outdoor enrichment is only worthwhile if the bird is genuinely comfortable.
Regarding outdoor safety specifically: never leave a harnessed bird unsupervised, even for a moment. Predators (including cats) can appear very quickly. If you have cats and birds sharing a household or outdoor space, it is worth understanding the risk dynamics involved. One useful angle is thinking about what makes birds vulnerable to predation, which is explored in the piece on how to make a bird-safe environment in mixed-pet households. Keep your harnessed bird within arm's reach at all times outdoors.
On the legal side: in most regions, keeping native wild birds without a permit is illegal, and attempting to harness or tame a wild bird you have found could put you in violation of wildlife protection laws. If you find an injured wild bird, contact a licensed wildlife rehabilitator rather than attempting to handle or train it yourself.
Realistic timelines and measuring progress
People often ask: how long will this take? Here is an honest answer: two to eight weeks is typical for a bird that already trusts you and is comfortable with handling. Birds that are less tame or that have had negative past experiences with restraint can take three to six months. A few birds never fully accept a harness, and that is okay.
Here is what progress looks like at each stage, so you know you are on track:
| Stage | What success looks like | Typical timeframe |
|---|---|---|
| Stage 1: Harness in the room | Bird notices harness, returns to calm behavior within 30 seconds | Days 1 to 3 |
| Stage 2: Harness up close | Bird investigates harness without retreating or alarm-calling | Days 3 to 7 |
| Stage 3: Harness touching body | Bird stays still and accepts gentle harness contact on chest and back | Days 7 to 14 |
| Stage 4: Partial attachment | Bird allows head through neck loop and one side fastened without struggling | Days 14 to 21 |
| Stage 5: Short indoor wear | Bird wears fully fastened harness for 5 minutes indoors without stress signals | Weeks 3 to 4 |
| Stage 6: Extended indoor wear | Bird wears harness calmly for 15 to 20 minutes and accepts leash attachment | Weeks 4 to 6 |
| Stage 7: Outdoor trial | Bird is relaxed outdoors on harness for a brief supervised session near home | Weeks 6 to 8+ |
Each session should start where the previous one successfully ended, not where you hope to be. If your bird had a bad session, drop back one stage and rebuild. Progress is not always linear, and setbacks are normal, especially after a stressful event in the bird's environment (a new pet, a vet visit, a move). The training plan should retain and build on your successful progress from prior sessions before pushing toward the next goal.
Cockatiels that have learned reliable vocal and behavioral cues tend to adapt more readily to new training goals like harness wearing. If you are working with a cockatiel that you would also like to develop other skills alongside harness training, the guide on how to train a cockatiel to talk is a good companion resource, since it uses the same short-session, positive-reinforcement framework.
One more practical tip: if you ever need to re-catch your bird after an accidental escape outdoors (something that can happen even with experienced owners), knowing how to approach and retrieve a panicked bird calmly is a skill worth having before you ever step outside. The article on how to catch a cockatiel bird covers safe retrieval techniques that minimize stress for you and your bird.
The bottom line: go slowly, use high-value treats, keep sessions short, read your bird's body language honestly, and never force the process. Birds that feel they have a choice in the interaction are much more likely to eventually choose to participate. That shift, from tolerating the harness to genuinely not minding it, is what makes outdoor adventures actually enjoyable for both of you.
FAQ
Can I train harness wearing if my bird is not fully comfortable with step-up yet?
It is risky to rush. If your bird bites, avoids step-up, or ducks away, focus first on consent-based handling and a reliable step-up cue. A harness session should only start when your bird can tolerate calm touch and brief handling for treats, otherwise you are likely to create lasting fear of the harness.
How do I know my bird is actually ready to fasten the harness for the first time?
Look for at least two calm signs before you try fastening: the bird should approach the harness or allow neck-loop guiding without repeated retreat, and it should maintain normal breathing and relaxed posture during and after the motion. If you see persistent frantic movements, freezing, or repeated attempts to escape, pause and go back to earlier steps.
What treats should I use, and how do I prevent them from upsetting my bird’s diet?
Use small, high-value treats that your bird already eats willingly. Keep treat size tiny so you can reinforce many repetitions in a 15 to 20 minute session. If your bird gains weight easily, rely more on favorite low-calorie options and keep overall daily treats modest.
My bird keeps twisting or trying to remove the harness. Should I tighten it more?
Do not tighten aggressively as a first response. Start by rechecking fit with the two-finger test and ensure the collar is positioned snugly against the chest rather than floating. Then shorten the session and return to earlier desensitization steps, because persistent twisting is often fear, not a fit-only problem.
How often should I practice harness training, and is daily always best?
Short, consistent sessions work best. For most birds, daily practice is ideal as long as each session ends while the bird is still engaged. If your bird shows stress, reduce frequency and increase recovery time rather than extending sessions.
What should I do if my bird looks okay indoors but panics when the leash comes out?
Treat leash attachment as a separate step, not an extension of the harness moment. Practice attaching and detaching the leash indoors first, then briefly walking in place while the bird stays calm. Increase gradually only when the bird shows curiosity or neutral body language, not escalation.
Is there a “safe maximum” time for wearing the harness?
Begin with just a few minutes indoors and build gradually based on stress signals, not a preset clock. As a rule, outdoors should only happen after your bird tolerates harness wear for at least 15 to 20 minutes indoors without signs of distress. If tail bobbing, open-mouth breathing, or repeated escape attempts occur, remove the harness immediately.
Can I use a harness outdoors in a place with wind, birds, or loud sounds?
Noise and distractions can trigger panic quickly, even if indoor sessions went well. Start outdoors in the least stimulating spot, keep it within arm’s reach, and watch for stress signals more frequently than you would indoors. If the bird becomes tense, return to indoors and rebuild before trying again.
What body language means I should stop right away during training?
Stop and remove the harness if you see open-mouth breathing, tail bobbing, sustained thrashing, or breathing that does not settle within a few minutes after removal. Also stop if your bird repeatedly tries to get away from normal handling during the harness steps, since escalation often predicts a deeper fear association.
Can I harness train a bird that is recovering from illness or has breathing issues?
Generally no. Birds with respiratory conditions, recent surgery, or ongoing illness are not good candidates. If you are unsure, ask an avian vet first because even short periods of restraint and exertion can worsen breathing problems.
If my bird successfully wears the harness, will it always stay comfortable later?
Comfort can regress after stressful events like a move, a vet visit, or a new pet. Plan to resume from the last successful point if you notice increased resistance, and treat short “refresher” sessions as maintenance so you do not have to rebuild from scratch.
Are there situations where harness training is simply not the right tool?
Yes. Finches are usually not suitable candidates due to stress and handling welfare risks. Wild birds should not be harness-trained, and very young birds with developing bones, or birds with severe fear responses after weeks of gradual conditioning, should be protected from restraint-based training.
What should I keep in mind if my bird escapes outdoors while harnessed?
Have a plan before you go out. Practice calm retrieval indoors, and if an escape happens, focus on minimizing chase. Use slow movements, offer familiar treats, and avoid cornering, because panic can make retrieval much harder and more dangerous for both of you.
Next Article
How to Catch a Bird Without Killing It: Humane Steps
Humane, trap-free steps to catch a wild backyard bird safely, minimize stress, contain it calmly, then release or reloca